
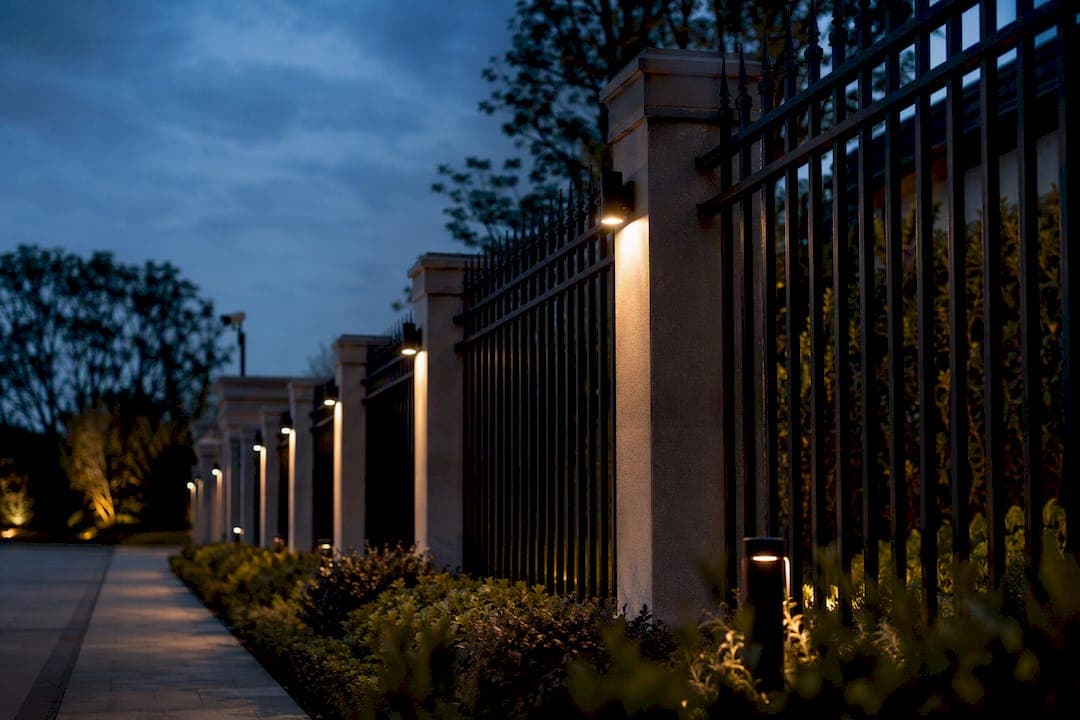
Perimeter security lighting works best as a uniform LED layout, sized to defined lumen and colour temperature targets, mounted at consistent heights and setbacks, and wired directly into CCTV and lighting controls. The design has to serve three tactical roles at once: deterrence, detection, and detention. Everything else in a specification, fixture choice, mounting method, IP rating, control interface, exists to support that layout, not to compete with it on raw brightness.
TL;DR:
- Uniform LED layout with consistent height and setbacks is essential to prevent dark gaps and improve CCTV identification performance.
- Fence-mounted LEDs suit chain-link fences, while pole-mounted floods are best for open areas and vehicle approach zones; impact-resistant hardware is crucial for tamper resistance.
- Proper pole placement outside the fence line, roughly two to three meters beyond, ensures even coverage and eliminates blind zones and climbing aids.
- Technical specifications should include IP65/IP66 ratings, lumen targets, 4000K to 5000K color temperature, and looped, grouped circuits to ensure reliability during faults.
- Regular maintenance, including quarterly fixture inspections and twice-yearly circuit testing, is vital to sustain lighting performance over the system’s lifespan.
Table of Contents
- What is perimeter security lighting supposed to do?
- Which fixture types work best for perimeter lighting?
- How do you design a perimeter lighting layout that actually works?
- What technical specs belong in a perimeter lighting tender?
- How should perimeter lights actually be installed?
- How does perimeter lighting integrate with CCTV and AI-driven controls?
- How often should perimeter lighting be tested and maintained?
- What should go in a perimeter lighting procurement checklist?
- Veil's operational perspective: coordinating lighting across the property lifecycle
- A quick editorial note on procurement priorities
- How Veilconcierge supports perimeter lighting projects
- Sources
What is perimeter security lighting supposed to do?
Deterrence, detection, and detention are the three jobs perimeter lighting is hired to do. Deterrence works before anyone approaches the fence line: a well lit perimeter signals that intrusion will be seen. Detection happens the moment someone crosses into that illuminated zone, whether a guard notices or a camera's motion analytics flag it. Detention is the final job, keeping the area lit long enough and evenly enough that a response team or recorded footage can identify who was there.
Most disturbances at commercial and residential properties happen after dark, which is why security lighting is treated as the foundational layer beneath cameras and intrusion sensors, not an accessory to them. Cameras with poor lighting produce grainy, unusable footage regardless of resolution. Guards patrolling a poorly lit fence line miss more than they catch.
Statistic callout: Lighting quality has a direct, measurable effect on how well downstream systems perform. Evenly lit scenes let CCTV analytics distinguish a person from a shadow; unevenly lit ones generate false triggers and blind spots that no amount of camera resolution can fix on its own.
- Deterrence discourages an approach before contact with the fence
- Detection flags movement the moment perimeter boundaries are crossed
- Detention sustains illumination long enough to support identification and response
Which fixture types work best for perimeter lighting?
Fence-mounted LED strings suit medium to high-risk perimeters where you want standardized coverage without a pole footprint. They install directly on existing fence posts, run on low-voltage circuits, and typically carry IP65 or IP66 ratings for outdoor durability, with individual fixture coverage varying from roughly 40 to 120 feet depending on optics.
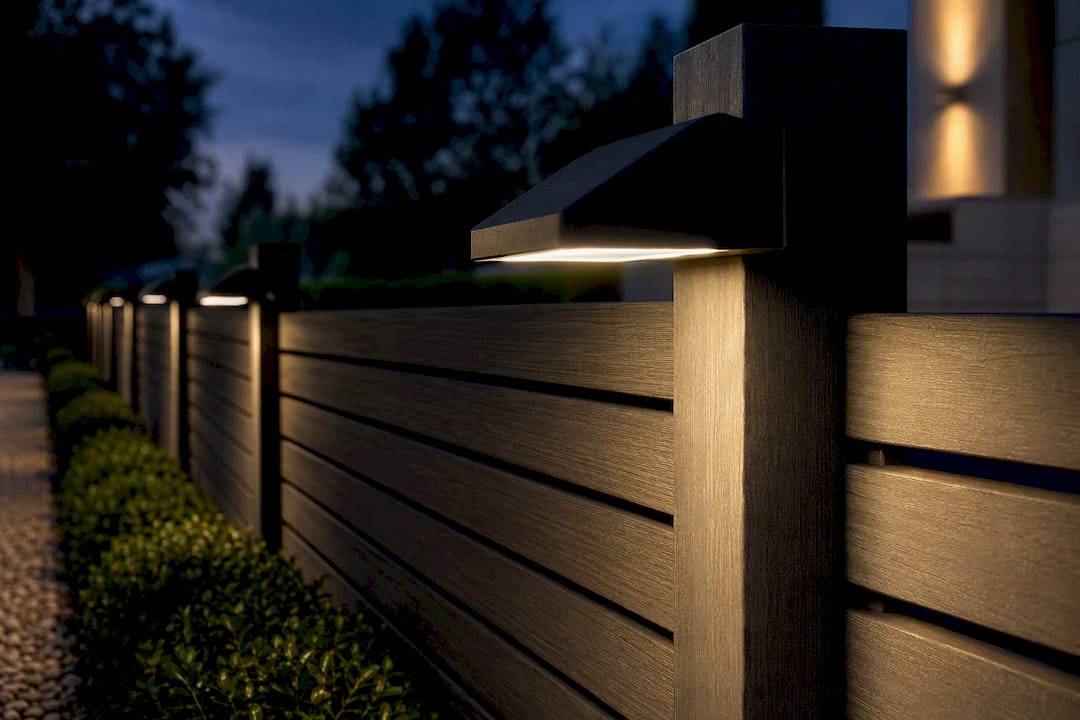
Pole-mounted floodlights remain the workhorse for open perimeters and vehicle approach zones. The choice between glare-projection and non-glare optics matters more than wattage: glare-forward fixtures deter from a distance but can wash out a camera's field of view, while non-glare, uniform beams support identification.
Bollards and searchlights round out the toolkit for tighter spaces and high-value points. Bollards give low, ankle-height illumination along walkways and vehicle chokepoints; searchlights extend detection range across open ground but need manual or motion-cued aiming to stay useful.
- Fence-mounted LEDs: low-voltage, standardized, ideal for chain-link and mesh perimeters
- Pole-mounted floods: best for open ground and vehicle approach lanes
- Bollards: low-profile lighting for paths, gates, and vehicle chokepoints
- Searchlights and spotlight cameras: extended range for high-value or isolated points
Tamper resistance matters as much as fixture type. Anti-climb housings, recessed wiring, and impact-rated lenses stop a fixture from becoming either a target or a foothold.
How do you design a perimeter lighting layout that actually works?
Uniformity beats peak brightness every time. A single blazing floodlight next to a dark stretch of fence creates veiling glare, a condition where the eye and the camera both struggle to see past the bright spot into the shadow beside it. That shadow is exactly where an intruder will walk. Consistent, evenly distributed illumination lets CCTV identification perform better than sporadic high-intensity beams, which is the entire logic behind prioritizing lumen consistency over lumen maximums
Design guidance from the RCMP's physical security branch recommends placing poles outside the fence line itself, roughly two to three metres beyond it, with fixtures angled outward. This does two things: it removes the pole as a climbing aid, and it eliminates the blind zone a solid wall or fence would otherwise cast on the inside edge.
- Set a uniform lux target across the full run before choosing individual fixture wattages
- Place poles two to three metres outside the fence, angled outward, never inside a sterile zone
- Match pole spacing to mounting height so beam overlap avoids dark gaps between fixtures
- Adjust the approach for fence type, chain link scatters light differently than a solid masonry wall
- Account for adjacent public areas so glare doesn't spill onto neighbouring properties or roads
Solid walls need a different beam angle than chain link because they block light from reaching the far side entirely, creating a hard shadow line right where you least want one. Simulation software and tools referenced by the Illuminating Engineering Society let designers model pole placement and beam overlap before a single fixture goes in the ground, catching dark zones on a screen instead of during a site walk.
Pro Tip: Run a lighting simulation with your fence type and pole spacing entered before ordering fixtures. A five-minute model can catch a dark gap that would otherwise sit undetected for years.
What technical specs belong in a perimeter lighting tender?
A tender document that skips technical detail invites vendors to quote whatever fixture is cheapest. Specify these lines and there's far less room for ambiguity.
- Minimum IP65, ideally IP66, for all outdoor fixtures, plus an IK impact rating for anything mounted within reach
- Lumen output banded to the site's uniformity target, not a single peak figure
- Colour temperature in the 4000K to 5000K range, which supports colour-capable identification imaging better than warmer tones
- Surge protection on every fixture, with circuits grouped and looped for redundancy
- A defined control interface: photocell scheduling, AI-triggered activation, or networked control over PoE, DMX, or Modbus
Statistic callout: Looped, grouped circuiting is a small design decision with an outsized payoff: it means a single breaker fault won't darken an entire perimeter face, which matters far more on the night something actually happens than on any ordinary evening.
Control interface choice deserves its own line item, because retrofitting a photocell only system into an AI-triggered one later means re-pulling cable, not just swapping a controller.
How should perimeter lights actually be installed?
Installation quality determines whether a well designed layout survives its first winter. Bollards and poles need proper footing: professional installations typically root-mount bollards buried up to 400 millimetres in wet concrete for impact resistance, particularly at vehicle-accessible points.
- Pour concrete footings to the depth the fixture manufacturer specifies, not a shallower shortcut
- Mount fence-line LEDs on low-voltage runs, keeping conduit separate from intrusion-detection cabling to avoid interference
- Route lighting circuits with clear separation from perimeter sensor wiring so a single trench fault doesn't take down two systems at once
- Leave serviceable access at every fixture, ladder clearance, junction box position, so replacement doesn't require re-trenching
- Fit anti-tamper hardware at any point within reach from outside the fence
Cabling separation is the detail most commonly skipped on tight budgets, and it's the one that causes the most expensive callback when a contractor nicks a sensor line while pulling lighting cable through the same trench.
How does perimeter lighting integrate with CCTV and AI-driven controls?
Uniform, colour-capable lighting is what lets a camera do its job at night. Cameras record images; lighting is what determines whether those images are usable. A well lit, evenly distributed scene supports colour mode overnight and gives facial and licence-plate recognition something to actually work with.
The shift underway across the industry is from passive, motion-triggered floodlights toward active systems. Products like the Wyze Cam Floodlight Pro illustrate the trend: AI-driven units that distinguish a person from a vehicle or a pet before triggering a light or an alert, cutting down on the false alarms that plague simple PIR floodlights.
- Trigger lighting events directly from camera analytics rather than a standalone motion sensor
- Set recording schedules and privacy zoning so bandwidth isn't consumed by irrelevant motion
- Use spotlighting or strobing as an active deterrent once a legitimate detection event fires
- Keep false-alarm filtering tuned so wildlife and passing traffic don't trigger a full-perimeter response
Pro Tip: An abrupt lighting change tied to a genuine detection event, paired with an immediate alert to a guard or owner, functions as an automated active deterrent, not just a passive floodlight flicking on.
Integration complexity is the trade-off worth naming honestly: AI-driven spotlight systems reduce false positives but generally need professional installation to configure correctly, particularly when tied into an existing camera network.
How often should perimeter lighting be tested and maintained?
A lighting system that was flawless at commissioning degrades quietly if nobody checks it. Build the cadence into the contract, not into someone's memory.
- Inspect and clean fixtures quarterly, checking for lumen degradation and confirming photocells switch correctly at dusk and dawn
- Test circuits and redundancy loops twice a year, confirming a single breaker fault doesn't darken an entire perimeter face
- Document every inspection and repair, keeping a written log tied to warranty terms for each fixture
- Track spares inventory and vendor contacts so a failed fixture gets replaced within days, not weeks
Warranty terms vary widely between LED fixture manufacturers, so lifecycle planning has to start at procurement, not at the first failure.
What should go in a perimeter lighting procurement checklist?
A site survey has to capture more than fence length before it can inform a real spec.
- Map approach zones, fence type, existing power runs, and any neighbouring properties affected by glare
- Require minimum IP65/IP66 and IK ratings, lumen and colour temperature bands, and mounting hardware specs in every vendor quote
- Decide project-level questions early: control interface, circuit redundancy, and how far integration with CCTV extends
- Set a budget band that accounts for installation and energy costs, not just fixture price
Total cost of ownership rarely tracks with sticker price. A cheaper fixture with a shorter lumen-maintenance curve or a non-standard control interface often costs more over five years than the higher quote that was built around a looped, redundant circuit from day one.
Veil's operational perspective: coordinating lighting across the property lifecycle
Specifying a perimeter lighting system is one project. Keeping it running for a decade is another, and it's the part most property owners underestimate. A concierge service can coordinate recurring tasks such as scheduled inspections to catch failing photocells before they go dark, trades coordination for fixture replacements, and arrival preparation checks to confirm every light on the perimeter is working before a client arrives.
Maintenance records and warranty documentation matter as much as the installation itself, and keeping that paperwork organized helps ensure a fixture failure inside its warranty window gets resolved through a claim rather than paid for twice.
A quick editorial note on procurement priorities
Uniform coverage integrated with CCTV beats a handful of bright floodlights every time. That's the single point worth carrying out of any spec meeting. Watch for these red flags in vendor proposals: fixtures rated below IP65, circuits wired without loop redundancy, and poles or bollards placed close enough to the fence to double as a climbing aid.
Push back if maintenance and testing schedules aren't written into the tender document itself. A verbal promise to "check on it" is not a service plan, and a perimeter that goes dark on one side because of an unlooped circuit defeats the purpose of the entire installation.
— Veil
How Veilconcierge supports perimeter lighting projects
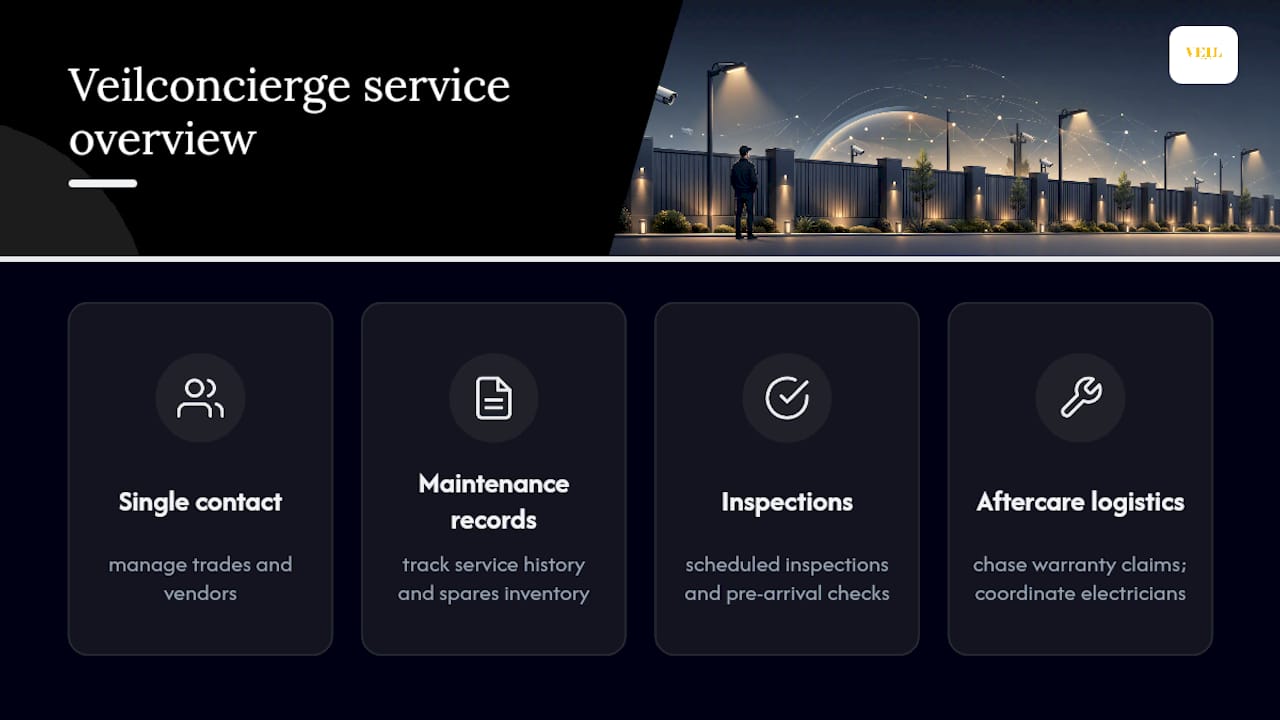
Specifying and installing a perimeter lighting system is only half the job. The harder half is the years after commissioning: chasing a warranty claim on a failed fixture, coordinating an electrician's schedule around a client's travel dates, keeping a spares inventory current. A luxury concierge service can act as a single point of contact to manage trades, track maintenance records, and confirm every system is functioning before a client arrives, so property owners do not need to juggle vendors themselves.

For clients managing a luxury residence with a full perimeter lighting and camera setup, Veilconcierge's home setup services coordinate the trades and inspections that keep those systems running long after installation day. Owners who want ongoing oversight, not just a one-time project, can look at comprehensive home management for scheduled inspections, vendor coordination, and documented visit logs across the whole property.
If you're planning a lighting upgrade alongside other property work, reach out to arrange a scheduled inspection and get the coordination started.
Sources
For readers designing or specifying a system, these are the core documents worth reading first: the PacLights guide to security lighting roles, the CEDRO/UNDP security lighting design guideline, the RCMP's security lighting considerations guide, and IES recommended practices for simulation and technical standards. For multi-tenant properties, the question of who pays for shared perimeter and communal lighting is worth checking against landlord versus tenant responsibility guidance.